Wednesday, January 12, 2011
Thursday, May 13, 2010
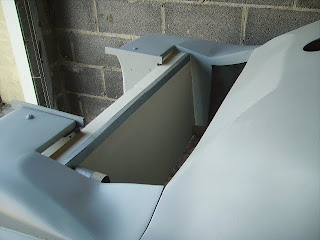
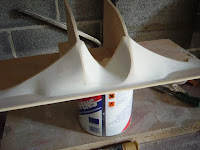
Multi Mold Rear sides.
Jobs are getting simpler.
At least for a while.
Using the lines already layed in place, I can use the mini grinder to draw a line.
Guess i'm using the same principle as sanding a block of wood, on its edge.
Following the line through.
Its just as workable to use a inked line, building the filler up to wards its mee
 ting point.
Either way is cool.
Its handy to rub a smidgen of release wax, on to the plugs, before applying some cellotape.
The paint is reasonably delicate, for the process.
Laying in filler, using the groove.
Chisels and paper flatten, and blend in bottom groove line, so, 1.5 soon becomes 2.
I like to remove, the framing/cellotape, etc, over night, at this stage.
The locators, for the various sections, are luckily assisted by some metal feet, for, generally , items of furniture:)
The other split lines, look easier to seal.
Strip of wood, from Diy, for front.
Card, clear plastic covering, plus assorted for outer/front most line.
Sourced , for inner.
Alittle spray, and corners should be set in place, ready for release wax.

At least for a while.
Using the lines already layed in place, I can use the mini grinder to draw a line.
Guess i'm using the same principle as sanding a block of wood, on its edge.
Following the line through.
Its just as workable to use a inked line, building the filler up to wards its mee

 ting point.
Either way is cool.
Its handy to rub a smidgen of release wax, on to the plugs, before applying some cellotape.
The paint is reasonably delicate, for the process.

Laying in filler, using the groove.
Chisels and paper flatten, and blend in bottom groove line, so, 1.5 soon becomes 2.
I like to remove, the framing/cellotape, etc, over night, at this stage.
The locators, for the various sections, are luckily assisted by some metal feet, for, generally , items of furniture:)
The other split lines, look easier to seal.
Strip of wood, from Diy, for front.
Card, clear plastic covering, plus assorted for outer/front most line.
Sourced , for inner.
Alittle spray, and corners should be set in place, ready for release wax.


